Trader locations in 7 Days to Die are easy to find once you understand what the game is actually showing you. The important catch is that there is no single universal coordinate list for every save: Navezgane is fixed, but Random Gen World (RWG) layouts depend on the seed and world settings.
This guide gives you the fastest in-game method, a reliable PC map-file method, and a troubleshooting checklist that remains useful even when updates move POIs or change trader progression.

Fast answer: how to find your first trader
- Finish the opening tutorial challenges.
- Track the resulting Journey to Settlement objective.
- Open the map and follow the marked White River outpost.
- When you approach the trader compound, its map marker and name should be added automatically.
- Save a custom waypoint before leaving so you can return even if you switch quests.
On current builds, the opening quest is the safest way to reveal your first trader. Do not rely on coordinates copied from someone else’s RWG save unless you know you are using the exact same seed, world size, generation version, and settings.
Why trader coordinates are different between worlds
Navezgane is a handcrafted map, so locations are fixed for the game version you are playing. Random Gen World maps are generated from a seed. Towns, roads, biomes, and trader compounds can therefore appear in different places.
This is why a list titled “all trader coordinates” may work for one player and be completely wrong for another. Game updates can also regenerate or alter POI layouts, so always match a map guide to your world version.
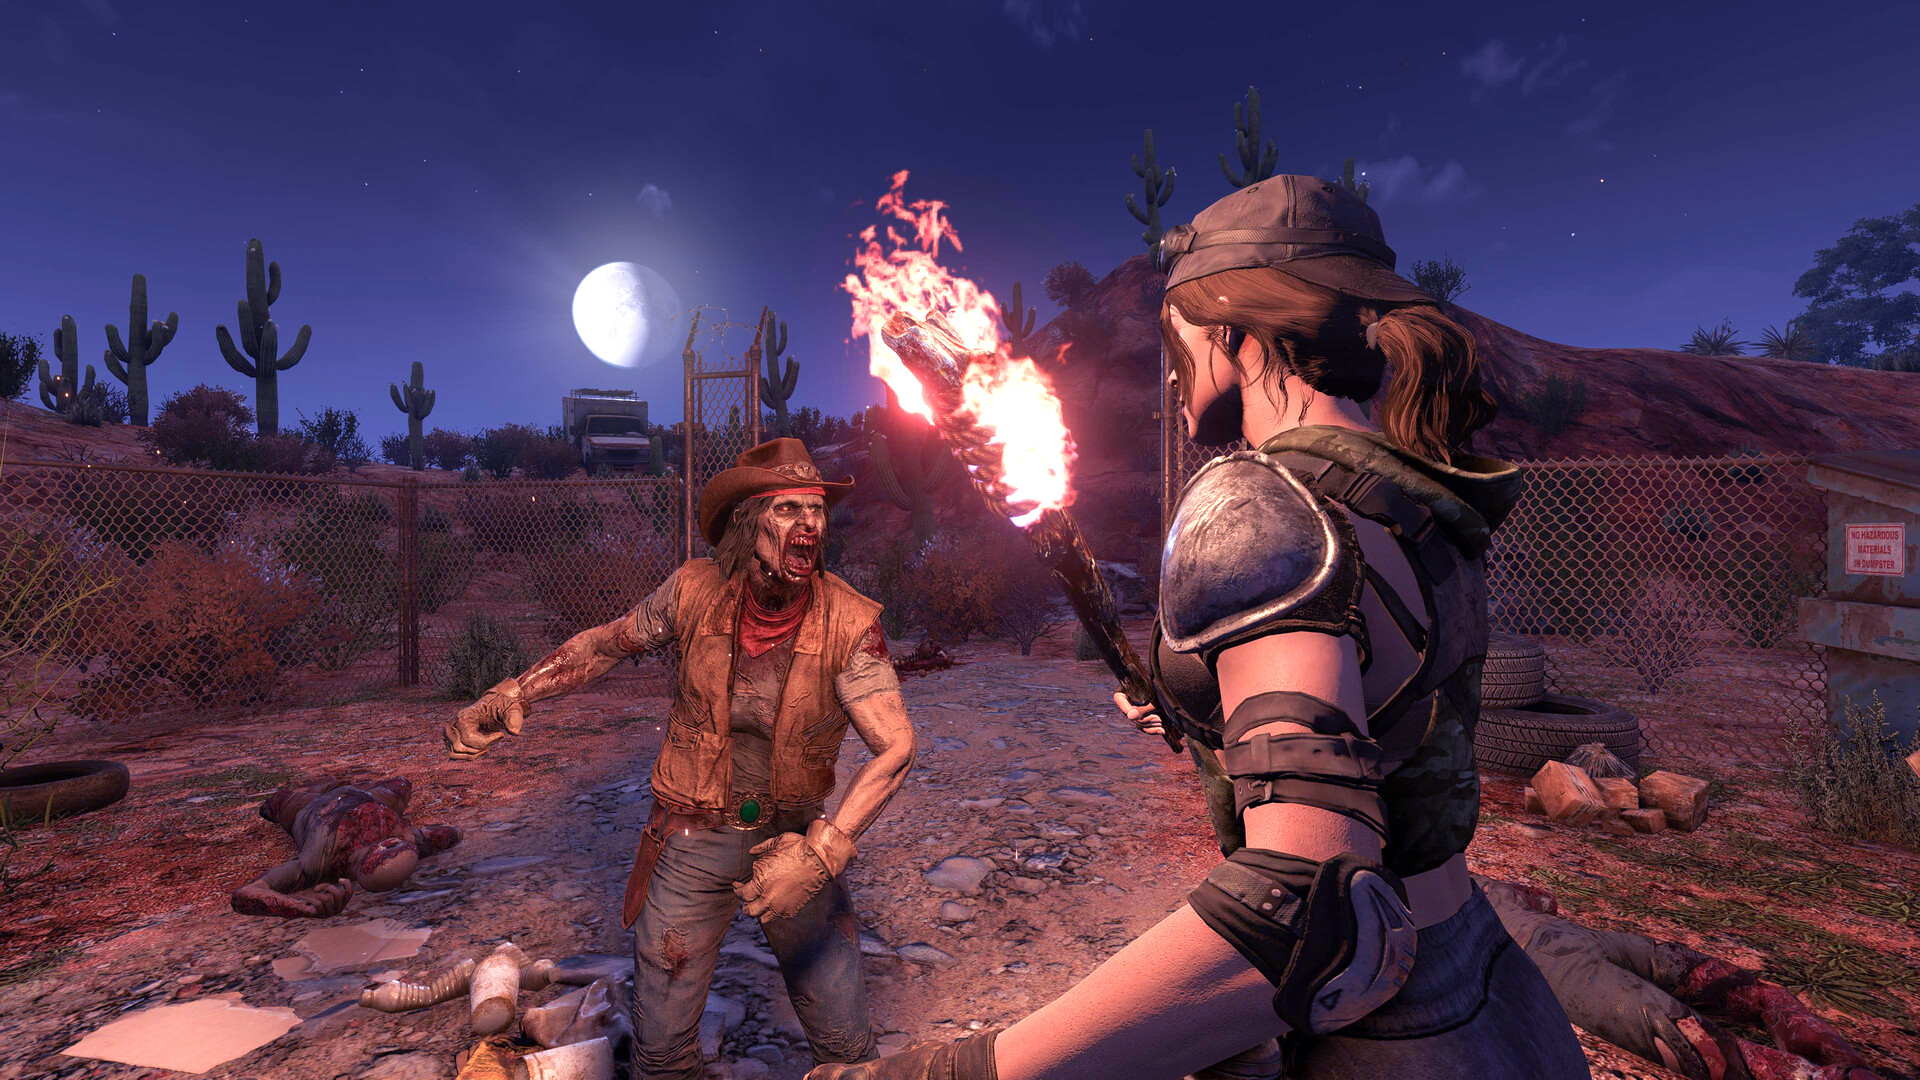
How to reveal more traders
1. Use trade-route progression
Complete trader jobs and watch for an Open Trade Routes objective. These objectives lead to another trader and place the destination on your map. This is the cleanest survival-mode method because it requires no commands or external files.
2. Search around towns and cities
Trader compounds are distinct fortified POIs. Watch for White River signage and flags, but confirm the location by approaching it and checking whether a trader marker appears. Similar-looking decorations can exist elsewhere.
3. Share markers in multiplayer
When one player finds a trader, record the coordinates or share a waypoint with the group. Use clear names such as “Trader — Forest” or “Trader — East City” instead of relying only on the NPC name. That makes routes easier to understand after world or progression changes.
PC method: inspect your generated world
If you are on PC and need every trader without driving across the map, inspect the files for the exact world used by your save or server.
- Identify the world name in your save or
serverconfig.xml. - Locate that generated-world folder. On a typical Windows installation, generated worlds are stored under your 7 Days to Die application-data folder in
GeneratedWorlds. - Back up the folder before changing anything.
- Open the world’s POI/prefab placement data with a text editor and search for
trader. - Use the returned position values as coordinates, or load the untouched world files into a compatible map renderer.
Important: exact filenames and formats can change between game versions. Treat the world folder itself as the source of truth. Never upload a private server’s configuration or admin files to an unknown website.
Using an online map renderer safely
A map renderer can turn your own generated-world data into a searchable map. Use one that supports your current game version, upload only the files it requests, and avoid old generators marketed for legacy Alpha versions. Current V3.x references warn that KingGen and NitroGen are legacy tools; use the in-game RWG system or a currently maintained option for new worlds.
The long-running community renderer at kui.github.io/7dtd-map is worth checking, but compatibility can lag behind a new game update. If it fails, search the exact world files locally instead of assuming your traders are missing.
Trader hours and trip planning
Current community documentation lists trader hours as approximately 04:05 to 21:50. Verify the hours shown in your build because experimental updates and server mods can change behavior.
- Leave enough time to reach the compound before closing.
- Empty inventory space before a selling run.
- Carry Dukes, repair kits, food, water, and fuel.
- Check the trader’s restock timer in the interface.
- Do not depend on the compound as an overnight base; building restrictions and closing behavior make that unreliable.
Trader specialties: useful, but not guaranteed inventory
The recognizable traders are Rekt, Jen, Bob, Hugh, and Joel. Different versions have emphasized specialties such as food and farming, medical supplies, vehicles and tools, weapons and armor, or general construction stock. Treat those specialties as a reason to check a trader—not a promise that a specific item will be available. Stock quality, restocks, progression, perks, and mods all matter.
If your trader marker is missing
- Confirm the opening tutorial is fully completed.
- Select the settlement or trade-route objective in the quest list.
- Zoom out and check the map filters and icons.
- Walk closer to the trader compound.
- Verify that your client and server use matching game versions and mods.
- On PC, inspect the exact generated-world folder used by that save—not another world with a similar name.
- If the world was created on an older major version, consider a fresh test world before assuming the current build is broken.
Dedicated-server tip
Server owners should save the world seed, world-generation size, game version, and generated-world backup together. A seed alone may not reproduce an identical map after generation rules change.
If you want a hosted 7 Days to Die server, you can try EVLBOX here. Use code TOOBROKE20 for 20% off your first order. The offer is one-time use and includes a 7-day money-back guarantee. I may earn a commission if you purchase through the link.
Bottom line
For your first trader, complete the tutorial and follow Journey to Settlement. For additional traders, use trade-route quests and exploration. For a complete PC map, inspect or render the generated-world files from your exact save. That is more reliable than copying coordinates from a different seed.
Sources and version notes
- 7 Days to Die Wiki: Traders — quest behavior, map discovery, hours, and trader systems.
- 7 Days to Die technical reference — current V3.x reference and map-tool compatibility notes.
- Official Steam listing — game media used in this article.
Checked September 2026. Version-specific details can change; the quest and exact-world-file methods are intentionally emphasized because they remain the most reliable.